Installing PHP in windows-7
Installing
PHP on Windows 7 is quite a simple affair. If you follow the steps exactly as
described in this tutorial you will have PHP up and running without any
problems.
Step 1:
Install PHP
for Windows using the Microsoft Web Platform Installer and click on Install PHP 5.3.5

Sep2: Now go to http://www.php.net/downloads.php scroll down to Windows Binaries and click on
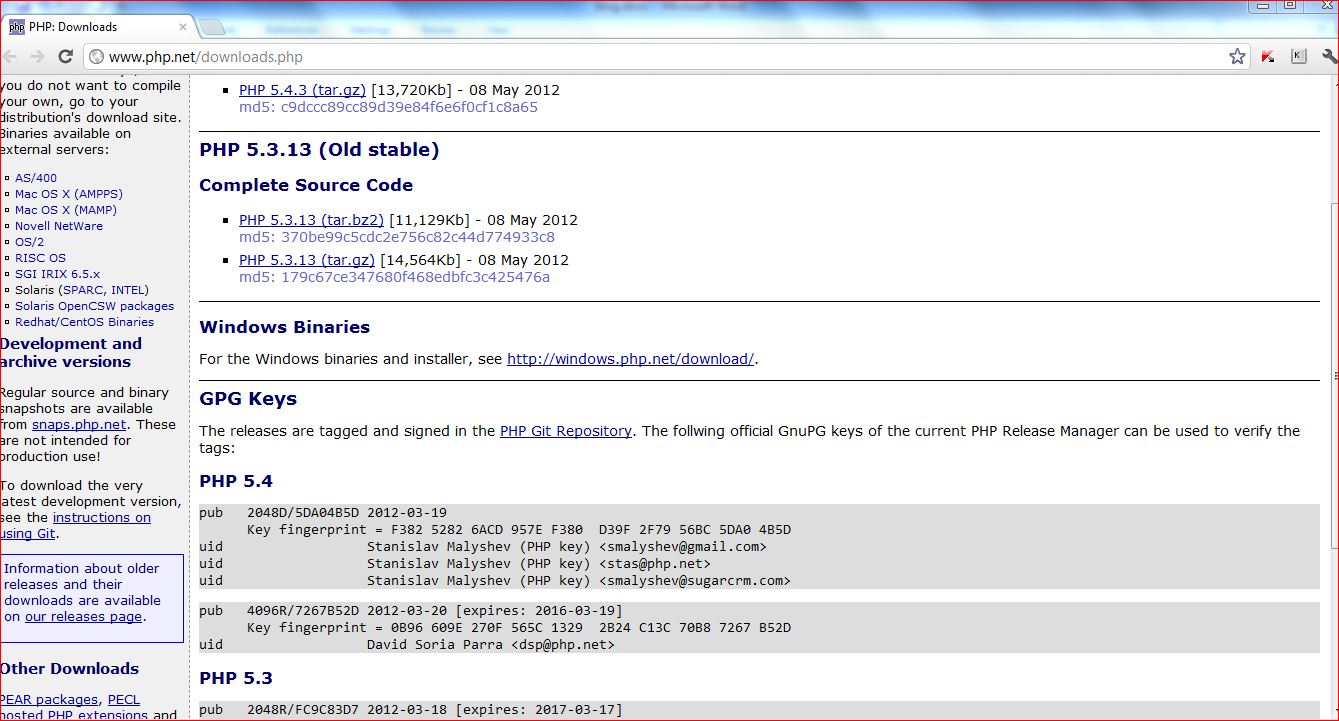
On clicking the url specified in the above step, the
following page will open :

In the above page, click and Download the latest non-thread-safe ZIP archive
Unzip the downloaded archive to C: folder. Then, rename the unzipped folder as PHP as shown below.

Step 3: create a copy of php.ini-development and rename it
as php.ini.

Step 4: Now open php.ini and change
And also check
cgi.force_redirect = 0And also check
cgi.fix_pathinfo = 1, fastcgi.impersonate
= 1
and set
extension_dir appropriately:
Step 5: As we installed PHP for windows on Step 1 now will
cross check it. Go to Start/Control Panel/Programs/Turn Windows Features on
or off and check on the Internet Information Services entry. Expand the World Wide Web Services/Application
Development Features/CGI node and also Web Management Tools/IIS
Management Console.


Step 6: Now, start the IIS Management
Console; just open up the start menu, enter
iis and hit Enter. There, navigate to the Sites/Default Web
Site/Handler Mappings node and double-click on the "Handler
Mappings" entry.
Step 7: As a result of this, the Actions
panel on the right hand side changes. You now see an option called Add
Module Mapping. Clicking on it opens up a dialog which you fill out as you
can see in the following figure (you may need to adapt the path used to your
local system).

Step 8: If you do not see the FastCgiModule
entry, you probably forgot to check the CGI node when installing IIS.
Otherwise, close the Add Module Mapping dialog by clicking on OK.
You need to confirm that you want to create a FastCGI application; click Yes.

Step 9: Finally, create a .php
script and put it in the root folder of the IIS site (by default C:\Inetpub\wwwroot;
note that you may need additional rights to write into that directory), e.g. phpinfo.php
with a simple <?php phpinfo(); ?> call
in it. Call this script using
http://localhost/phpinfo.php, and you may get internal server error.
Step 10: If you get error message then go to start menu, enter
iis and hit Enter. There, navigate
to the Sites/Default Web Site/PHP Manager node and double-click on the
"PHP Manager" entry.
You can see a
warning of not an optimal PHP configuration.

click on the View recommendations and select all the recommendations and click ok.


No comments:
Post a Comment